I've had a roll of
PhotoEZ for a while now with the intent to use it to place my
I Spy logo on handmade mixed media items, but never got around to it. When I made the decision to invest in my Native Bloom line, I knew for sure I would create a logo with this super easy silk screen material and place my Native Bloom logo on my jewelry boxes. I ordered simple
kraft colored jewelry boxes from Rio Grande.
I ordered them in size 3 1/2 x 3 1/2 inches.
I worked very hard on a logo that I am so pleased with, only to find out that my image is too fine to burn into the kind of PhotoEZ I have (which is standard - I need the high resolution for this to work. I will still be using it on business cards, so not really wasted time there.
Create a Silk Screen for Jewelry Packaging with PhotoEZ
Materials and supplies
Image
Printer
PhotoEZ sheet or roll
Printer paper
Transparencies
Scissors
Sheet of glass or clear acrylic (larger than your image)
Cardboard or thin flat surface for base
Clips (any kind, just thick enough to hold sandwiched glass and board)
Black paper or material (two pieces)
Bowl of water
Small brush (like a used toothbrush)
Sunlight or UV bulb
Patience - optional, but it does help
Towel or drying surface
To Print
Good ink
Squeegee or thick, flexible card
Item to print on
Water to rinse
Old towel to dry screen on
1. Choose your image. Start with a nice crisp design, in black. If you have an image with fine lines or half tones, you will need the high resolution PhotoEZ. Otherwise, use the standard sheets. Here's the design I ended up with.
2. Print your image. Print it out to the size you want it on regular copy paper. This will allow you to test your design size on your item before you print the image on your transparencies.
Cut the design out and place it in position on your item, and make sure everything lines up and looks the right size. If not, resize and reprint. If the image is the right size, go ahead and print it out on your transparency. It is not necessary to flip your image. Print it as you would read it.
I double-checked mine once I printed it on the transparency. This will give you the best idea of what the image will look like on your item.
Print other sizes out if you need them. I printed one out for my bags too.
3. Prepare the PhotoEZ. Make sure when you are dealing with PhotoEZ that you do not expose it to sunlight or UV light bulbs until you have the image placed and are ready to burn your image. It is best to work in a windowless room when you need to cut the PhotoEZ.
Cut a piece for each image, making sure to leave plenty room around the image to use your squeegee. Also, cut a small test piece. This will come in handy and help you test exposure time. I wasted a lot of this material unnecessarily because I did not know the proper exposure time (it's winter, so I did not have bright sunlight). Place the remaining PhotoEZ back in its package.
Take your cardboard and place the black paper/material on top. Peel the protective film off the PhotoEZ. It's kind of a pain to remove.
Place the PhotoEZ sheet shiny side up in the black material. Place your image face down on the shiny side of the PhotoEZ. You can see from the picture below that any words you used on the image will appear backward to you from this view. Place a sheet of glass or acrylic over the sandwiched layers and clip down tight. If the image is not down tight you might end up with a blurred image, or a solid screen. Place a piece of dark or thick cloth or material over the whole board and image to prevent premature exposure.
4.
Expose the PhotoEZ. You are ready to take the image to a light source and expose it. Please review and use
these guidelines before exposing the screen. Today was a nice day for winter, but a winter day none the less. Here's a view from my front door at noon today.
Since I did not have full sunlight, I needed to lengthen the exposure time. For a transparency in bright sunlight, the exposure time is 50 seconds. After many tests and failures, I figured the correct exposure to be right at 4 minutes. You can tell the screen is ready when it turns from green to a dark teal color. Don't overexpose or you could end up with an image that will not wash out. If the screen turns dark blue, it is probably overexposed. I placed my image flat on my porch, but if the sun is bright it is recommended that you hold your image at a perpendicular angle to the light.
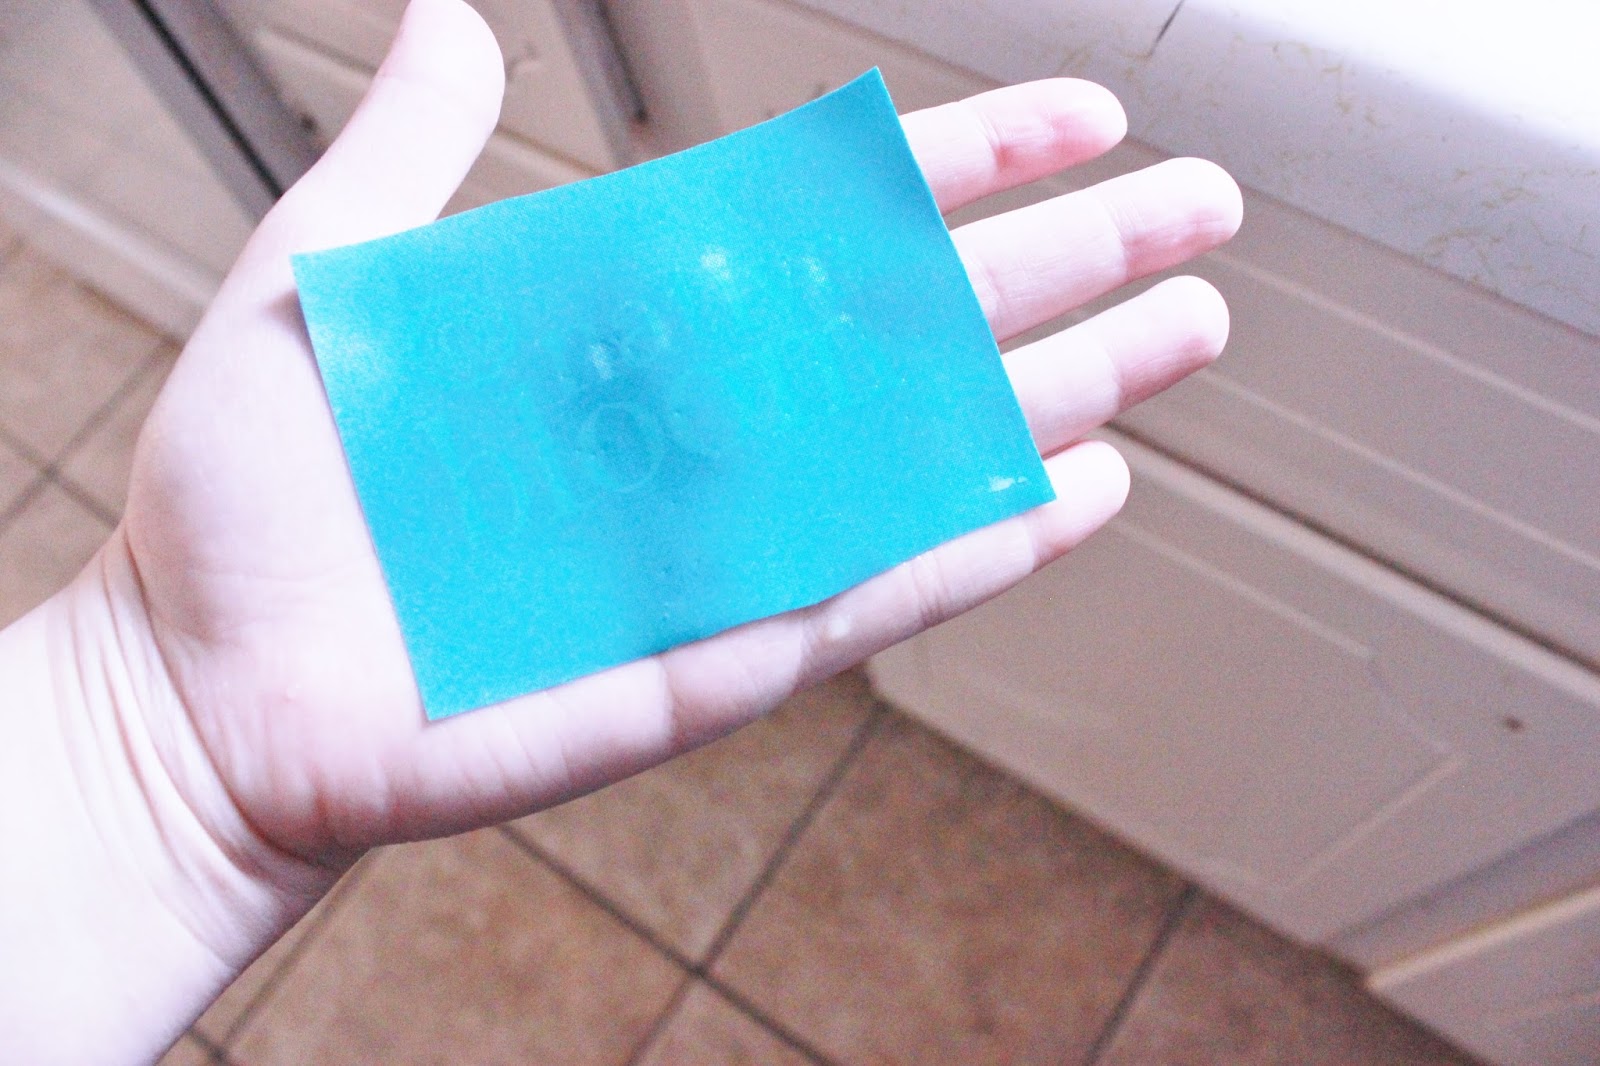
Here's my properly exposed screen, and you can sort of see the letters in green. In person, when you remove the image from the screen the image is visible on the screen and looks very green in contrast to this teal color.
5. Time to rinse. Place the screen in a bowl of water and let it soak for a couple of minutes.
After the screen has soaked for a little while, place it on your hand shiny side down. The shiny side will be soft and easy to damage, so this will protect the detail in your image.
Hold this under running water for a minute, then start to clean the screen where the image is with a toothbrush. Use soft, gently circling motions to clear the screen where the image is. Do not scrub too hard or you will remove too much. If you find that the image does not come clean, it might be overexposed. If areas other than your image are coming off, the screen is underexposed.
Hold the screen up to the light to make sure the image is cleaned out fully. If you see any remaining material on the design, rinse and brush again.
6. Finishing the screen. Once the screen is cleaned out, place it back into the sunlight for at least 10 minutes to finish the screen. Since it's winter here, I left mine out for 20 minutes.
Here are some of my screens. The first two are still drying and need to be exposed again to finish. The third screen is fully exposed and ready to print with.
Here is a finished screen with a piece of the PhotoEZ material on top of it to illustrate for you the difference in the color of the material from start (unexposed green) to finish(dark blue).
An attempt to use the screen with cheap craft paint. Notice how bad the bleeds are.
An attempt to use the screen with tube acrylic. It does not flow well and I ended up with several gaps.
I don't have any black silk screen ink, but I do have some yellow that hubs found me at a thrift store. The difference using this ink is incredible. The image is clear and crisp, and the ink is raise and looks sort of embossed.
I can't wait to get some black ink and test this out! My packages are going to look so smooth!!!!! I will update this post when I get some. :)