Showing posts with label metal clay. Show all posts

Saturday, February 8, 2014

Saturday Sculpt - Sugar Skulls


Here's last week's sculpt, a small, medium, and large sugar skull.  They were sculpted from polymer clay, cured in my oven, and then cast as a mold with Cold Mold.  I use these molds to form bronze and copper clay.  I haven't fired a large one yet, but here's a picture of the small and medium ones in BronzClay straight out of the kiln.  


Keep an eye out for these, they will be in my Native Bloom shop very soon.  I am also working on a charm bracelet to add to the shop that will feature some of my small pieces as charms.  


Thursday, January 30, 2014

Out of the Kiln - Out of the House


I love the oxidation on these pieces, they are straight out of the kiln.  I wonder what makes these lovely colors, and whether there was a way to control them and keep them.  These are bronze, and they have been polished up already.  This peace sign is one of my favorite pieces, but the bail was a complete fail.  I'll post about that later.


It is still so strange to me how some have a rainbow patina from oxidation, some are almost black, and some are bright golden.  At first I had a hard time getting the bronze cleaned down to look even, but found that a nice steel brush works best to clean, then a good two hour tumble produces a gorgeous shine.  This cleans the metal well so you can apply an even patina with chemicals if desired.  I'll post some pics of these brushed and tumbled, but for now I am away from my house, and that is where my camera is located.  :(


This wax seal letter was an order for a friend.  It was polished as well.  The peace sign will not be sold because the bail although completely strong came out ugly and messy.  So it is my every day necklace for now.  I have a similar piece at home that I am dying to fire, but we had a bit of snow here and roads are out, they have been out for days.  Amazing how three or four inches of snow can completely cripple us here in the South, where a real snow only happens once every three or four years.  We are quite ill prepared.  Long story short, we came to my sis-in-law's house where we would be sure to have power, heat, and access to food and water.  I am out of my element and feeling quite strange.

Wednesday, January 22, 2014

I've Been Busy

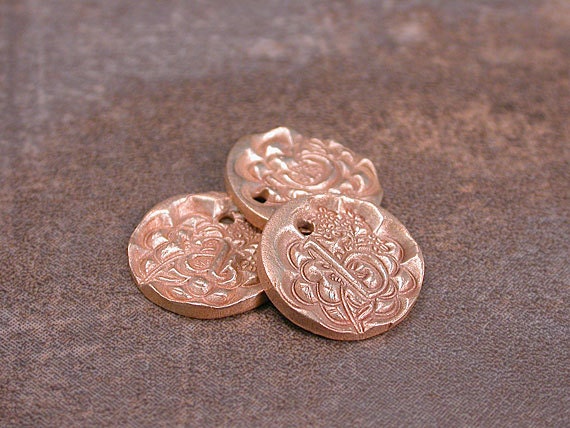
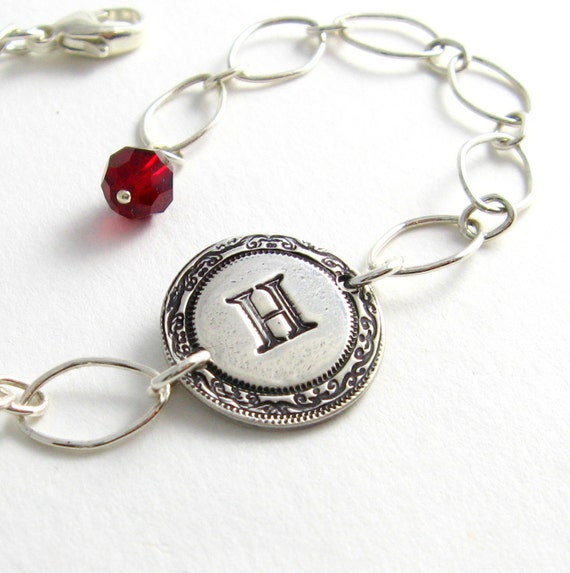
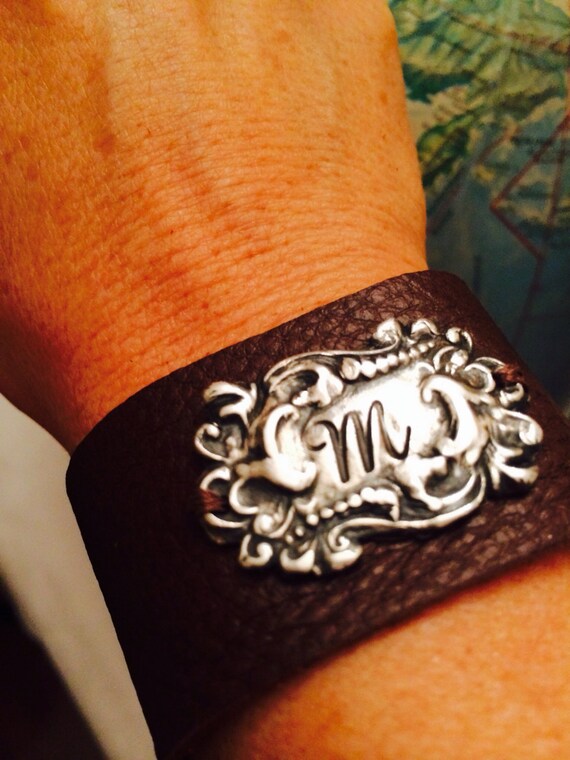
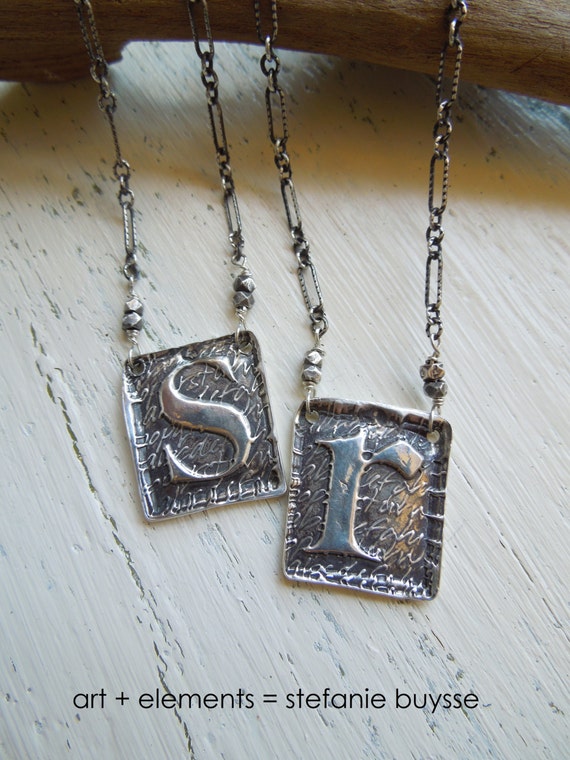
I know I have been gone forever, but I have been busy.  I have some items in my Native Bloom Etsy shop.  Here's a sneak peek.

Pendant Tray Necklaces, like my owl.  Find him here.


Some artsy ones. Find them here, here, and here.


Monogram.  They're right here.


Scripture.  Get these here.


I also have tons of other items listed, and I am adding weekly until I get a full shop.  I hope to have 350 items by the end of February.  I am busy sculpting, molding, and firing in the kiln.  I still have to fire a lot of pieces to put in my shop, but I do have a few metal clay pieces listed right now.  

Like my Small Peace Sign set.  The necklace is here and the earrings here.


There's also my Small Flower Set.  Find the necklace here, and the earrings here.


 And my Itty Bitty Blooms.  Necklace here and earrings here.


I also have some birthstone glass pearl sets, available in antique copper, antique brass, and bright silver.  You can find them in my Getting Personal  shop section.


They are available in all these wonderful colors.


Thursday, January 2, 2014

BronzClay Owl Necklaces


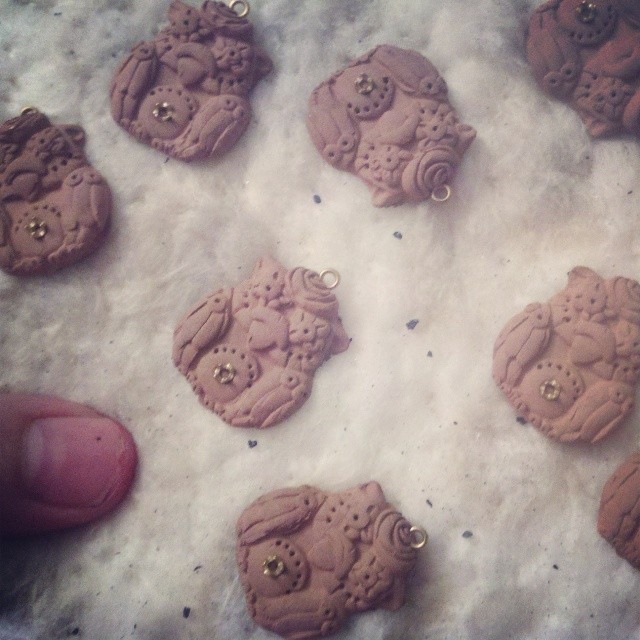
I'm a little bit owl obsessed, and so is my daughter and all of her cousins.  So I decided to design a little owl necklace for them for Christmas.  I knew I wanted something that I could reproduce easily, so I wanted to try a polymer clay sculpture and mold it with Cold Mold.  I started with the big guy on the left, but he took 15 grams of BronzClay, which put me a bit over budget (I had to make 12 of these!).  So I sculpted a smaller one;  you can see it in the picture below to the right.  Cute, right?


I wanted to try some stones out, so I added some bronze embeddable prong settings in 2 mm, and some 1.6 mm embeddable eyelets .  I'll explain later why I may never use 2 mm settings again.  Below are the dried clay owls, I laid them out on my ceramic fiber blanket to make sure they finished drying.  Sorry for the blurry picture.


Here they are fresh out of the kiln.  I used coconut carbon this time instead of the coal-based.  I read somewhere that the coconut carbon fires cleaner and my batches of BronzClay with the coal-based carbon were very dirty.  Some of these have a lovely dark patina that I just love.  They are the ones that were on the bottom layer of two layers, and I think they were closer to the back.  The fingerprints came out sort of two-toned after the firing.  


I cleaned this batch up with a wire brush before I patinated them so they would absorb more dark color.  Here they are after a dip in liver of sulphur (which STINKS!).


Nice and dark after the LOS treatment.  Dirty birdies.


Below are the different stages of finishing.  The first is the LOS treatment, the second is after a good brushing with a brass wire brush, and the third have been given a nice polish with polishing cloth.  


Here's the texture on the back all polished up.  This is the Flower Quilt rollable texture tile from Cool Tools.  I got 12 texture sheets from them and it was some of the best money I spent so far for, and the Flower Quilt texture is my favorite so far.   


Here are a couple of owls polished up and ready for stones.  


And five of them with stones set (which took forever!)  I actually broke a prong off one of these guys.  The problem is that the stone is too small to keep level, and I had to keep going back and replacing the stone into the setting, and it was just way to hard to put in for the effect.  Not that the stones aren't cute.  And I love that each girl got an owl with her birthstone on it.  It was just too difficult and too many bad words were said.  I wish I had used my 3 mm settings instead.  I will probably never order this size again.


And this is the finished product....a little birdie with a sparkling stone on his belly.  Had to add a key and matching pearl too.


What do you think?  


Wednesday, December 4, 2013

BronzClay First Firing

I took a brave step yesterday and fired my first BronzClay pieces.  I did tons of research, and finally ended up using the firing schedule chart on the Cool Tools site.  It was written by Mardel Rein, and it's kinda genius.  You can find it HERE.  Just scroll down for all the information you will need to get started with BronzClay and how to troubleshoot.  The stuff can be sorta fickle, so don't give up if your first go isn't perfect.

My kiln is a Paragon SC2 from Rio Grande, and it is the 1680 watt model, and my thickest piece was 7 mm thick, and I used a 4" high stainless steel container.  So here's the schedule I ran.

Rate:  212 per hour
Target Temperature:  1490 degrees F
Hold Time: 2 hours

That took about 9 1/2 hours to complete, and about an hour to cool down enough for me to take the container out and sift through with a stainless steel spoon to fish my pieces out.  I only fired 7 pieces, and here they are straight out of the kiln.

Dirty, grungy, oxidized, but beautiful and fully sintered.


Cleaned up a bit with my Dremel tool.


And a finished piece, a wax seal pendant on an 18" antiqued brass ball chain with a Swarovski birthstone element.  


I did not polish and sand before I fired these pieces, so I had to do a lot of work after I got them out of the kiln.  I sanded and tried to burnish the piece a bit, but I had a few places where the bronze would sort of flake off.  I was worried the piece had not sintered fully, but I did a test on one of the roses that did the same thing.  I hammered the crap out of it and it sounded metal and did not break or crack or anything.  The more I hammered the more bronze I saw.  I read somewhere that you should anneal the metal before you work with it a lot or it could become brittle and break, so I wonder if the flaking was from working it too hard without annealing it.  I plan on fixing this dilemma by sanding and burnishing before firing so all I will have to do is pickle the piece and polish.  

The back of the medallion has a faux bois texture.


I'm so proud of how this turned out, and I can't wait to make more!!!!!


Monday, November 4, 2013

Metal Clay Monday - Dreaming

Not much time for inspiration right now, so I thought I would just share a picture of my dream kiln.

Brandon (hubs) and I will be going this week to apply for a loan, so wish us luck!  Since the Kiva Zip loan process did not go well, I will have to rely on a personal loan to purchase the equipment and materials I need.  

Sunday, October 13, 2013

Metal Clay Monday - Silver and Copper Combined


I love this piece by Diana Frey of Tattered Adornments.  She made it in 2012 at a workshop lead by Jonna Faulkner.  It is a copper clay piece with silver clay appliques and cz.  Gorgeous!


These next pieces were made by Lorena Angulo in 2010 at a workshop by Hadar Jacobson.  I love Lorena's work, prepare yourselves to see all sorts of her work on my blog.  


These next pieces are by Vickie Hallmark, and they were also made in 2010 at a Hadar Jacobson workshop.   


I love seeing the copper and silver clay together!  


Monday, October 7, 2013

Metal Clay Monday - Lorena Angulo

The first time I saw the lovely pieces by Lorena Angulo, I knew metal clay was for me.  I fell in love with her sculpted treasures and started daydreaming about kilns, PMC, COPPRclay, and sugar skulls immediately.


I joined Flickr in 2009 for the stamp carving community, but soon stumbled across Lorena's photostream and was truly captivated.  I create mixed media art and handmade books and have several articles published, but jewelry really has become the bread winner of all my hobbies.  Now, with two children, I have the choice of going back to a 9 to 5 job (missing my children and giving half my pay over to daycare) or making my own living.  With capital coming soon, I will be investing in a kiln and all the tools and supplies I need to make metal clay jewelry.

Lorena is a spectacular person and I highly recommend you stop by her website and check out her blog.  She is a Mexican artist living and working in Texas.  She is also a thyroid cancer survivor!  Such a strong and beautiful woman.  Her artwork is filled with imagery from her home county, including such iconic images as milagros, calaveras, catrinas, the tree of life, and other Mexican folk art symbols.  I also adore her use of patina, adding the perfect finishing touch to her beautiful artisan jewelry.  She is a certified Qualified Metal Clay Artisan and active member of the PMC Guild.  To see more of her achievements, check out her bio.


Besides whooping cancer's ugly butt, she has been busy; her book Behind the Brooch: A closer look at backs, catches, and pin stems, will be available February 2014, and she also has made several templates for Paper Picado's QuickArt (TM) Template line.  You can find them here.