Wednesday, March 26, 2014

On My Table - Sculpey Premo Earrings


I'm working on some earrings, and I thought I would share some pictures of them with you.  I think I might make a bracelet out of this design too.  I chose four different colors of polymer clay and pressed them onto a stamp.  These are stamps I have had for a while, they are the Martha Stewart Create Camellia Set, and as far as I can tell they are no longer available.  I used Sculpey Premo Accents polymer clay (bronze, peacock pearl, silver, and purple pearl) and just made them as flat as possible without making them weak.  I used Martha Stewart glitter (brownstone, lapis lazuli, sterling, and charlotte), and a mix of different colors of Apple Barrel and FolkArt paints.  I just mixed white with a coordinating color to make a top coat a shade lighter than the clay.  I brush it on over the top of the texture, not into the impression, and the sprinkle with a coordinating shade of glitter.  The little flowers are for another project.  A secret project.  I can't tell you about it yet.  


I love the texture of this stamp.  By the way, the polymer clay is almost impossible to remove from clear acrylic stamps, so use some sort of release if you want to use the stamp for something other than clay.  


I used a paisley texture stamp from Cool Tools for the back and coated with an almost black acrylic paint and sprinkled that with black onyx glitter.  Next I will coat these with Pledge FloorCare Multi-Surface Finish (aka Future Floor Wax), then punch some holes and add beads and components.  

Tuesday, March 25, 2014

Helpful Links for Metal Clay Beginners (BronzClay and CopprClay)

Here are some links that I found helpful while figuring out my kiln and how to use metal clay.  Please keep in mind that I have a Paragon SC2, and I use BronzClay and CopprClay.  I have my own firing schedule that I figure out after doing a bunch of research and some trial and error.  I had to lower the temperature of my kiln much lower than recommended, I think by almost 100 degrees, but my pieces kept blistering.  I am still working out the kinks with CopprClay.  
This really is tough stuff, so if you have taken on the challenge to learn this medium, congrats and best of luck.  If I can help in any way at all, just shoot me an email (nativebloom@outlook.com).  I'll keep adding to this as I go along.


How to Choose a PMC Kiln by Lake Erie Artists

BronzClay Troubleshooting by Cool Tools

Magic Carbon Instructions by Cool Tools

Creating with CopprClay

CopprClay Firing Guide by Wanaree Tanner

Temperature Tweeking by Wanaree Tanner

The Care and Feeding of Your Paragon Kiln by Pam East

PMC Connections Health, Safety, and Copper-Based Metal Clay (Copper I) and Health, Safety, and Copper-Based Metal Clay (Copper II)

Experimenting with White Bronze by Studio 28

Creating Bronze Jewellry - Firing Times by PMC Tips

An Etsy Forum by Metal Clay Heads on Firing Schedules

BronzClay Fail by Studio McManus

Problems in Firing BronzClay by All Things Metal Clay

Enamel Tests on CopprClay by About Art and Other Stuff

Firing and Enameling Art Copper Clay by Pam East

BronzClay and CopprClay Programming for Kilns 703-117 and 703-118

Hattie Sanderson's Top 25 Metal Clay Tips and Tricks


Monday, March 24, 2014

Monday, March 17, 2014

Thursday, February 27, 2014

Perfect Packaging - Floral Touch Part One

A very simple way to dress up a package is to add a flower to the top.  You can use store bought flowers, or add a handmade touch to your product/gift by making your own.  

Here's a wonderful example from Jennifer of Dear Lillie.  These lovely crepe flowers are the perfect addition to any package.  Check out her Crepe Paper Peony Tutorial to learn how to make them yourself!


How about these die cut felt flowers by Dawn McVey?  I love the little touches she added, like the twine, buttons, and pearls.  I would almost hate to open a package as lovely as this.


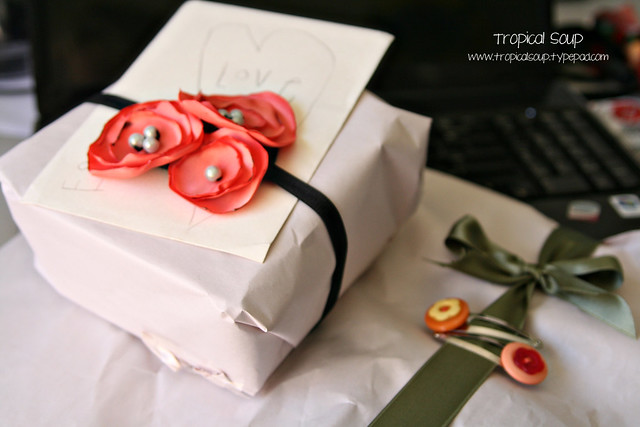
These packages by Jolie of Tropical Soup are so pretty!  She used a handmade rosette headband and pretty little hair clips to decorate these presents.  I love the colors and pearls!


These are great too, and you can make your own with wax paper!  Check out this pom pom flower tutorial from Brunch at Saks for instructions and materials.


I think my favorite so far are these packages by Heather of Pretty Petals.  You can purchase the online workshop tutorial from her Etsy shop violetsarebleu and learn how to make all of these for $12.50.  They are so elegant!


So which ones are your favorite?  You can check out more of these finds on my Perfect Packaging board on Pinterest.  If you like what you see here, check out the sidebar and pick a way to follow my blog.  I have lots more Perfect Packaging posts of the way, and some basic jewelry tutorials in the works.  


Monday, February 17, 2014

Perfect Packaging - Kraft in Black and White


I have been researching packaging for my Native Bloom line, and I have quite a collection on my Pinterest Perfect Packaging board.  I thought I might sort them into groups and share them, along with a few links so you can try to make some of your own.  

I figured I would start out with one of my most favorite simple combinations - kraft boxes with black and white details.  Here's a perfect package from Grain - the boxes for their Electric Love rings.


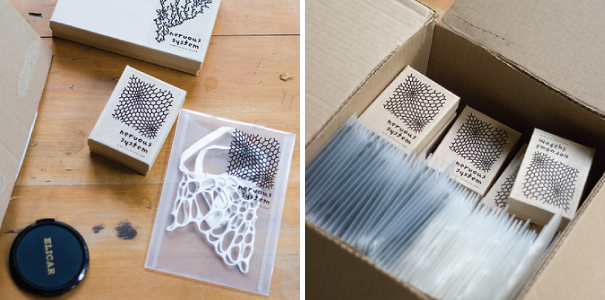
These packages by Jessica Rosenkrantz of Nervous System are just right  I love the simple, clean look of the nervous system logo on these kraft boxes.  Try these on your own with these boxes from Rio Grande ($26 - $45 per 100, depending on size) and any one of these custom stamps from Etsy.  Or you could get them printed on with a service like Hot Foil Stamping ($45 for reusable plate, plus $40 for 200 items).   You could also try my silk screen tutorial and print your own.  


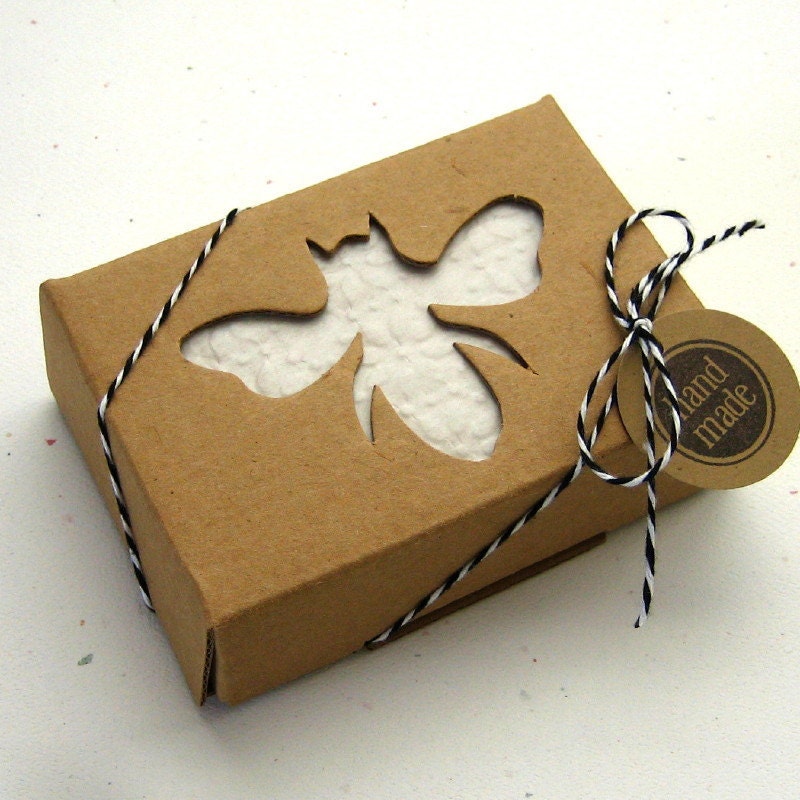
How about this listing from the Etsy shop Somerset Market? The cut out lets the texture and color of the product shine through.  And the baker's twine is the perfect touch!


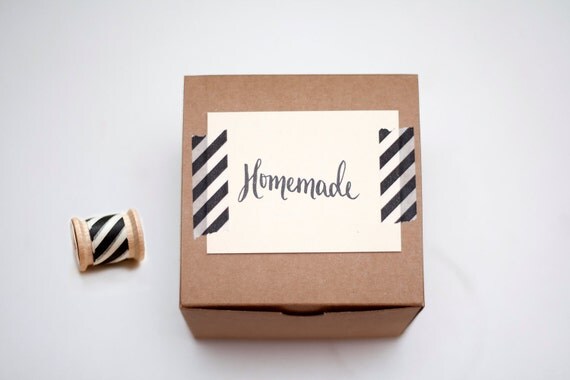
I love this idea from Yours is the Earth.  Just dress up a plain kraft box (like one of  these) with a handmade sign and some washi tape in your choice of colors.  I am quite fond of black and white myself.  


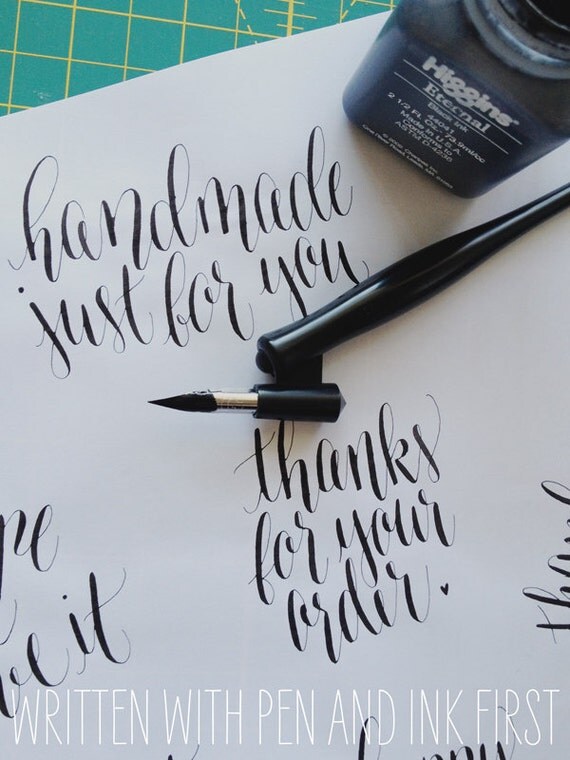
Wouldn't those look lovely with these calligraphy labels from Rad & Happy?  I am totally in love with them!  They are available as an instant digital download for only $6 for the set of three labels ("thanks for your order," "handmade just for you," and "made with love").  Here's a picture of the originals she used to create the digital images.  


Saturday, February 8, 2014

Saturday Sculpt - Sugar Skulls


Here's last week's sculpt, a small, medium, and large sugar skull.  They were sculpted from polymer clay, cured in my oven, and then cast as a mold with Cold Mold.  I use these molds to form bronze and copper clay.  I haven't fired a large one yet, but here's a picture of the small and medium ones in BronzClay straight out of the kiln.  


Keep an eye out for these, they will be in my Native Bloom shop very soon.  I am also working on a charm bracelet to add to the shop that will feature some of my small pieces as charms.