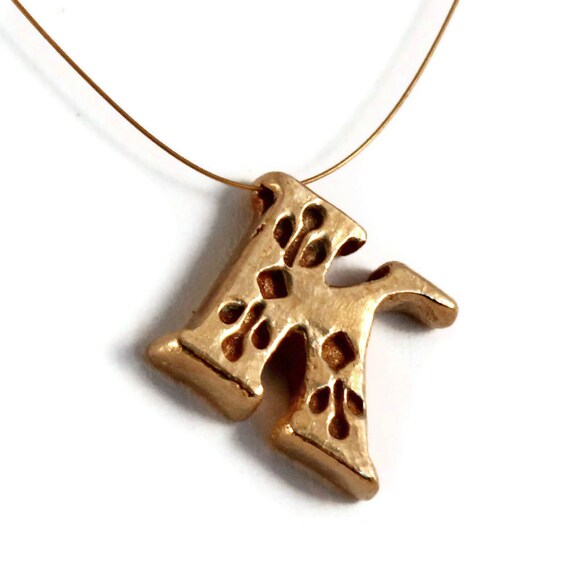
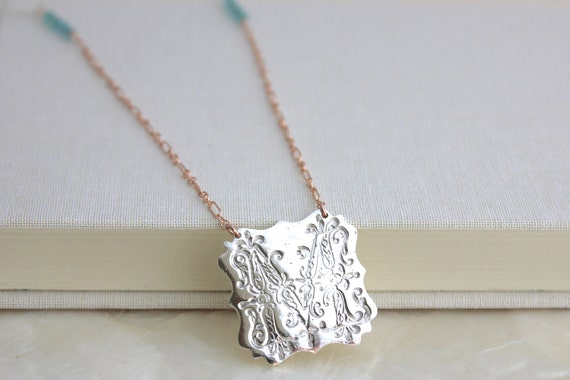
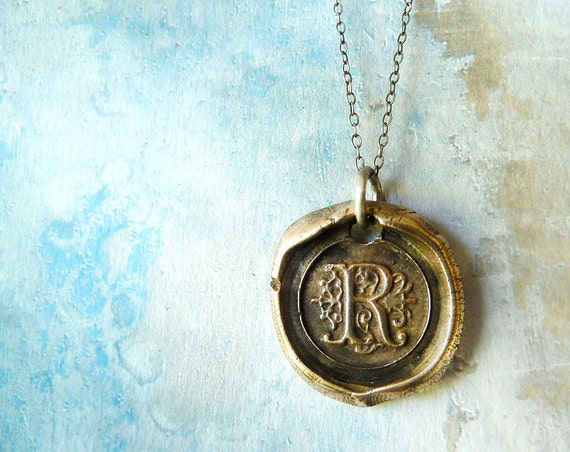
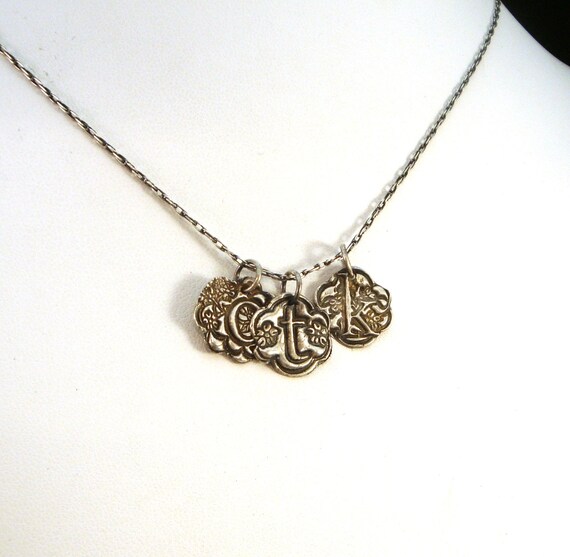
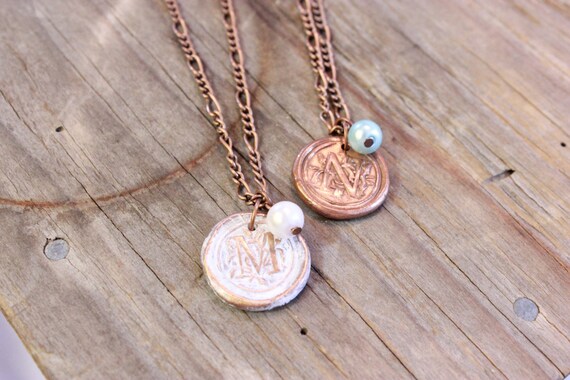
Here'a a round up of some of my favorite metal clay initials. You'll notice a link to the item listing as well as the maker's shop. I'll have parts two and three up soon, so keep your eyes peeled for that one. Have a wonderful week!
Monday, March 17, 2014
Thursday, February 27, 2014
Perfect Packaging - Floral Touch Part One
A very simple way to dress up a package is to add a flower to the top. You can use store bought flowers, or add a handmade touch to your product/gift by making your own.
Here's a wonderful example from Jennifer of Dear Lillie. These lovely crepe flowers are the perfect addition to any package. Check out her Crepe Paper Peony Tutorial to learn how to make them yourself!
How about these die cut felt flowers by Dawn McVey? I love the little touches she added, like the twine, buttons, and pearls. I would almost hate to open a package as lovely as this.
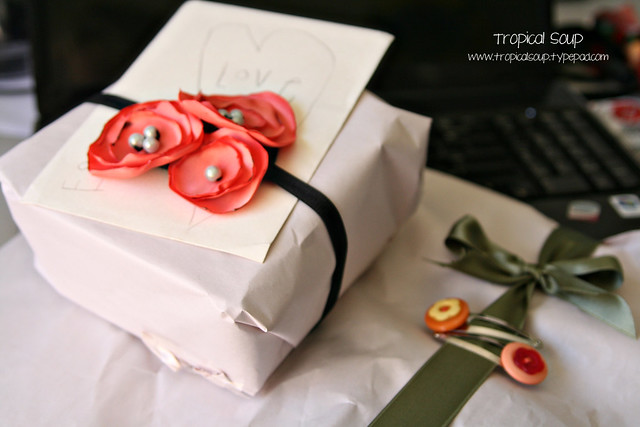
These packages by Jolie of Tropical Soup are so pretty! She used a handmade rosette headband and pretty little hair clips to decorate these presents. I love the colors and pearls!
These are great too, and you can make your own with wax paper! Check out this pom pom flower tutorial from Brunch at Saks for instructions and materials.
I think my favorite so far are these packages by Heather of Pretty Petals. You can purchase the online workshop tutorial from her Etsy shop violetsarebleu and learn how to make all of these for $12.50. They are so elegant!
So which ones are your favorite? You can check out more of these finds on my Perfect Packaging board on Pinterest. If you like what you see here, check out the sidebar and pick a way to follow my blog. I have lots more Perfect Packaging posts of the way, and some basic jewelry tutorials in the works.
Monday, February 17, 2014
Perfect Packaging - Kraft in Black and White
I have been researching packaging for my Native Bloom line, and I have quite a collection on my Pinterest Perfect Packaging board. I thought I might sort them into groups and share them, along with a few links so you can try to make some of your own.
I figured I would start out with one of my most favorite simple combinations - kraft boxes with black and white details. Here's a perfect package from Grain - the boxes for their Electric Love rings.
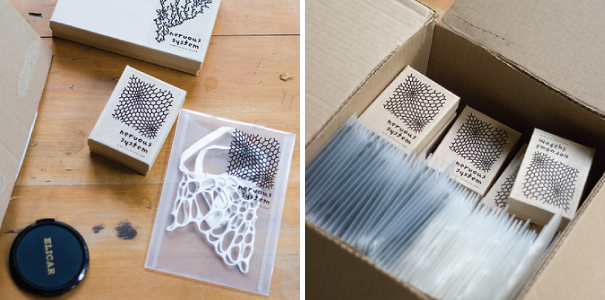
These packages by Jessica Rosenkrantz of Nervous System are just right I love the simple, clean look of the nervous system logo on these kraft boxes. Try these on your own with these boxes from Rio Grande ($26 - $45 per 100, depending on size) and any one of these custom stamps from Etsy. Or you could get them printed on with a service like Hot Foil Stamping ($45 for reusable plate, plus $40 for 200 items). You could also try my silk screen tutorial and print your own.
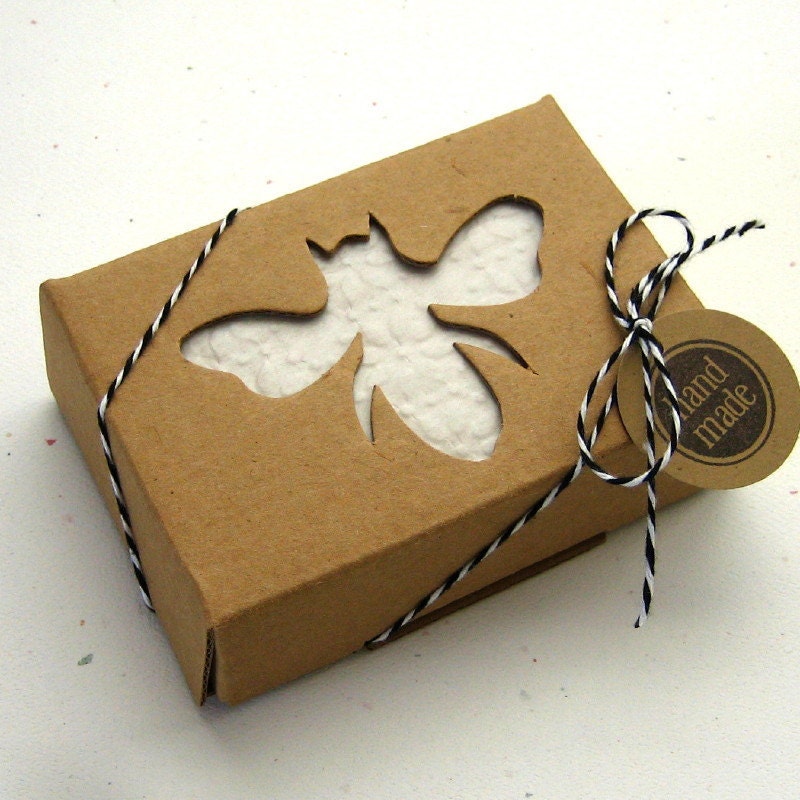
How about this listing from the Etsy shop Somerset Market? The cut out lets the texture and color of the product shine through. And the baker's twine is the perfect touch!
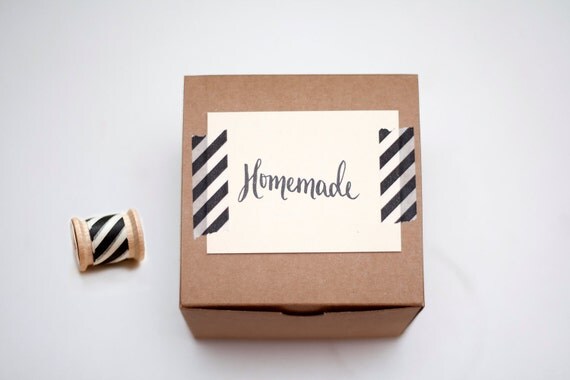
I love this idea from Yours is the Earth. Just dress up a plain kraft box (like one of these) with a handmade sign and some washi tape in your choice of colors. I am quite fond of black and white myself.
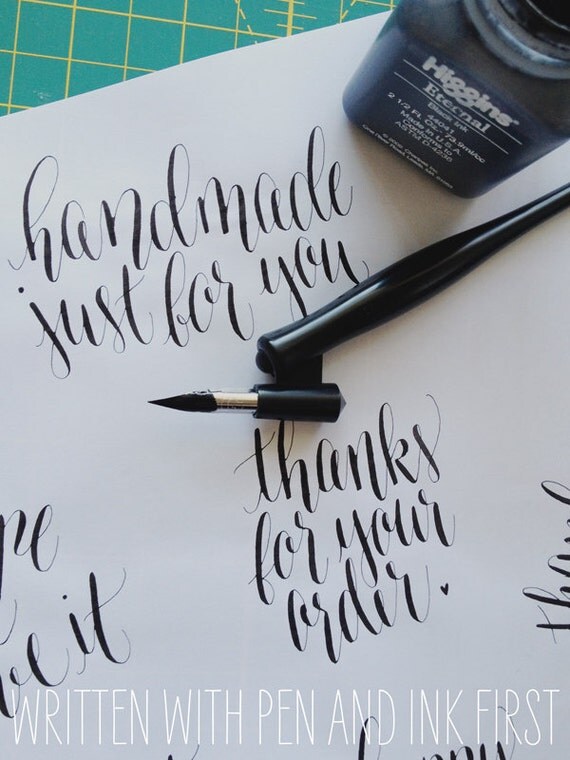
Wouldn't those look lovely with these calligraphy labels from Rad & Happy? I am totally in love with them! They are available as an instant digital download for only $6 for the set of three labels ("thanks for your order," "handmade just for you," and "made with love"). Here's a picture of the originals she used to create the digital images.
Saturday, February 8, 2014
Saturday Sculpt - Sugar Skulls
Here's last week's sculpt, a small, medium, and large sugar skull. They were sculpted from polymer clay, cured in my oven, and then cast as a mold with Cold Mold. I use these molds to form bronze and copper clay. I haven't fired a large one yet, but here's a picture of the small and medium ones in BronzClay straight out of the kiln.
Keep an eye out for these, they will be in my Native Bloom shop very soon. I am also working on a charm bracelet to add to the shop that will feature some of my small pieces as charms.
Thursday, January 30, 2014
Out of the Kiln - Out of the House
I love the oxidation on these pieces, they are straight out of the kiln. I wonder what makes these lovely colors, and whether there was a way to control them and keep them. These are bronze, and they have been polished up already. This peace sign is one of my favorite pieces, but the bail was a complete fail. I'll post about that later.
It is still so strange to me how some have a rainbow patina from oxidation, some are almost black, and some are bright golden. At first I had a hard time getting the bronze cleaned down to look even, but found that a nice steel brush works best to clean, then a good two hour tumble produces a gorgeous shine. This cleans the metal well so you can apply an even patina with chemicals if desired. I'll post some pics of these brushed and tumbled, but for now I am away from my house, and that is where my camera is located. :(
This wax seal letter was an order for a friend. It was polished as well. The peace sign will not be sold because the bail although completely strong came out ugly and messy. So it is my every day necklace for now. I have a similar piece at home that I am dying to fire, but we had a bit of snow here and roads are out, they have been out for days. Amazing how three or four inches of snow can completely cripple us here in the South, where a real snow only happens once every three or four years. We are quite ill prepared. Long story short, we came to my sis-in-law's house where we would be sure to have power, heat, and access to food and water. I am out of my element and feeling quite strange.
Wednesday, January 22, 2014
I've Been Busy
I know I have been gone forever, but I have been busy. I have some items in my Native Bloom Etsy shop. Here's a sneak peek.
Pendant Tray Necklaces, like my owl. Find him here.
I also have some birthstone glass pearl sets, available in antique copper, antique brass, and bright silver. You can find them in my Getting Personal shop section.
Pendant Tray Necklaces, like my owl. Find him here.
Monogram. They're right here.
Scripture. Get these here.
I also have tons of other items listed, and I am adding weekly until I get a full shop. I hope to have 350 items by the end of February. I am busy sculpting, molding, and firing in the kiln. I still have to fire a lot of pieces to put in my shop, but I do have a few metal clay pieces listed right now.
I also have some birthstone glass pearl sets, available in antique copper, antique brass, and bright silver. You can find them in my Getting Personal shop section.
They are available in all these wonderful colors.
Thursday, January 2, 2014
BronzClay Owl Necklaces
I'm a little bit owl obsessed, and so is my daughter and all of her cousins. So I decided to design a little owl necklace for them for Christmas. I knew I wanted something that I could reproduce easily, so I wanted to try a polymer clay sculpture and mold it with Cold Mold. I started with the big guy on the left, but he took 15 grams of BronzClay, which put me a bit over budget (I had to make 12 of these!). So I sculpted a smaller one; you can see it in the picture below to the right. Cute, right?
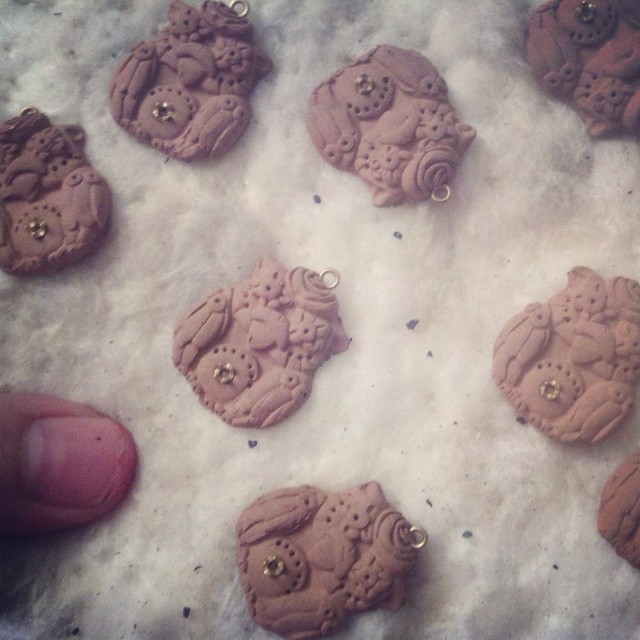
I wanted to try some stones out, so I added some bronze embeddable prong settings in 2 mm, and some 1.6 mm embeddable eyelets . I'll explain later why I may never use 2 mm settings again. Below are the dried clay owls, I laid them out on my ceramic fiber blanket to make sure they finished drying. Sorry for the blurry picture.
Here they are fresh out of the kiln. I used coconut carbon this time instead of the coal-based. I read somewhere that the coconut carbon fires cleaner and my batches of BronzClay with the coal-based carbon were very dirty. Some of these have a lovely dark patina that I just love. They are the ones that were on the bottom layer of two layers, and I think they were closer to the back. The fingerprints came out sort of two-toned after the firing.
I cleaned this batch up with a wire brush before I patinated them so they would absorb more dark color. Here they are after a dip in liver of sulphur (which STINKS!).
Nice and dark after the LOS treatment. Dirty birdies.
Below are the different stages of finishing. The first is the LOS treatment, the second is after a good brushing with a brass wire brush, and the third have been given a nice polish with polishing cloth.
Here's the texture on the back all polished up. This is the Flower Quilt rollable texture tile from Cool Tools. I got 12 texture sheets from them and it was some of the best money I spent so far for, and the Flower Quilt texture is my favorite so far.
Here are a couple of owls polished up and ready for stones.
And five of them with stones set (which took forever!) I actually broke a prong off one of these guys. The problem is that the stone is too small to keep level, and I had to keep going back and replacing the stone into the setting, and it was just way to hard to put in for the effect. Not that the stones aren't cute. And I love that each girl got an owl with her birthstone on it. It was just too difficult and too many bad words were said. I wish I had used my 3 mm settings instead. I will probably never order this size again.
And this is the finished product....a little birdie with a sparkling stone on his belly. Had to add a key and matching pearl too.
What do you think?
Subscribe to:
Posts (Atom)